6 Deck Prep Steps Timber & Brush Completes Before Any Stain or Paint Goes On
Most Connecticut shoreline homeowners who have had a deck stained or painted before know what a failed finish looks like. It peels. It fades unevenly. It starts lifting at the board edges within a season or two. The stain looked good the day it was applied and looked disappointing by the following spring. The assumption is usually that the product was wrong, or the color choice did not hold up as expected.
In most cases, the product had nothing to do with it. The prep work did.
According to YellaWood's professional wood finishers guidance, proper preparation of the surface is 90 percent of the job when it comes to deck staining. According to Sherwin-Williams, when a surface is not clean, stains and other finishes have trouble sticking and may end up peeling. The finish that fails within two seasons on a Connecticut shoreline deck in Madison, Guilford, or Old Saybrook almost always failed because the wood was not properly cleaned, not dry enough, not repaired before coating, or was coated over an old finish that should have been stripped first.
Timber & Brush is an exterior wood repair specialist serving the CT Shoreline. Before any stain or paint goes on a deck, six preparation steps are completed on every project. Not sometimes. Every time. This is what those steps involve, why each one matters, and what skipping any of them does to the finish that follows.
Step 1: Structural and Board-Level Inspection
The first step before any prep work begins is a thorough inspection of the deck's structural condition and the individual boards. Applying stain or paint to a deck with rotted boards, loose fasteners, cracked wood, or structural issues does not preserve the deck. It conceals problems that will worsen underneath the finish and produce a larger and more expensive repair when they eventually surface.
What the inspection covers on a CT Shoreline deck:
- Rotted board identification: Deck boards on Connecticut shoreline properties in Clinton, Branford, Westbrook, and the surrounding communities face sustained moisture exposure from Long Island Sound salt air, Connecticut's 48 inches of annual rainfall, and the debris accumulation between boards that retains moisture against the wood surface. Rot can be present at the board ends, at fastener locations where water pools, and in the lower face of boards where moisture wicks upward from the decking below. Probing with a screwdriver or awl identifies soft spots that are not visible from the surface.
- Fastener condition: Screws or nails that have backed out, corroded, or are no longer holding the board flat create raised surfaces that affect stain application and collect water. Loose fasteners are driven flush or replaced before any other work begins.
- Railing and post condition: Railing posts, balusters, and top rails are inspected for rot at connection points and post bases, where water infiltration and sustained moisture contact is most common. Paint or stain applied over a railing post that is rotting at the base does not extend the life of that post.
- Structural fastener and joist condition: Visible joist ends, beam connections, and ledger board areas are inspected for any signs of structural moisture damage that should be addressed before the deck surface is coated.
Any rotted board, failing fastener, or structural issue identified during inspection is repaired before prep work continues. Timber & Brush handles both the wood repair and the deck staining as a single-scope project, which is why the inspection step produces actionable findings rather than a recommendation to call someone else.
Step 2: Old Coating Assessment and Removal
The second step determines what is already on the wood and whether it can stay or must be removed. This is where many deck staining projects go wrong, because coating over an existing finish that should have been stripped is one of the most reliable ways to produce a finish that fails prematurely.
Why old coating assessment matters:
Deck stain, unlike paint, is designed to penetrate into the wood fibers rather than sitting on top as a film. For penetrating stain to work correctly, it needs to reach the wood. An existing coating on the surface, whether an old film-forming solid stain, a peeling painted finish, or a penetrating stain that is no longer bonded to the wood, blocks the new product from reaching the substrate. The new stain sits on top of the old one rather than penetrating the wood, and it behaves accordingly: it does not adhere, it does not protect the wood, and it fails quickly.
According to expert guidance from Family Handyman, old coatings should all come off first. Bringing the deck down to bare wood for best results is the standard professional recommendation, not an optional upgrade.
What the coating assessment determines:
- Previously unpainted or naturally weathered wood: Requires cleaning and possibly a wood brightener to restore pH and open wood pores, but does not require chemical stripping
- Previously stained with a penetrating oil-based stain in good condition: May be candidates for cleaning and light sanding if the existing stain is not peeling and the new product is compatible
- Previously stained with a film-forming solid or semi-solid stain that is peeling or lifting: Requires complete removal through chemical stripping, power washing, and sanding before any new coating is applied
- Previously painted: All paint must be removed before staining, as paint creates a film barrier that prevents stain penetration entirely
Chemical stripping when required involves applying a deck stripper product, allowing it to dwell, working it into the surface with a stiff synthetic-bristle brush, and thoroughly rinsing. If the stripped surface is acidic from the chemical process, a wood brightener neutralizes the pH before staining. Coating over a chemically stripped surface without neutralizing it produces adhesion problems in the new finish.
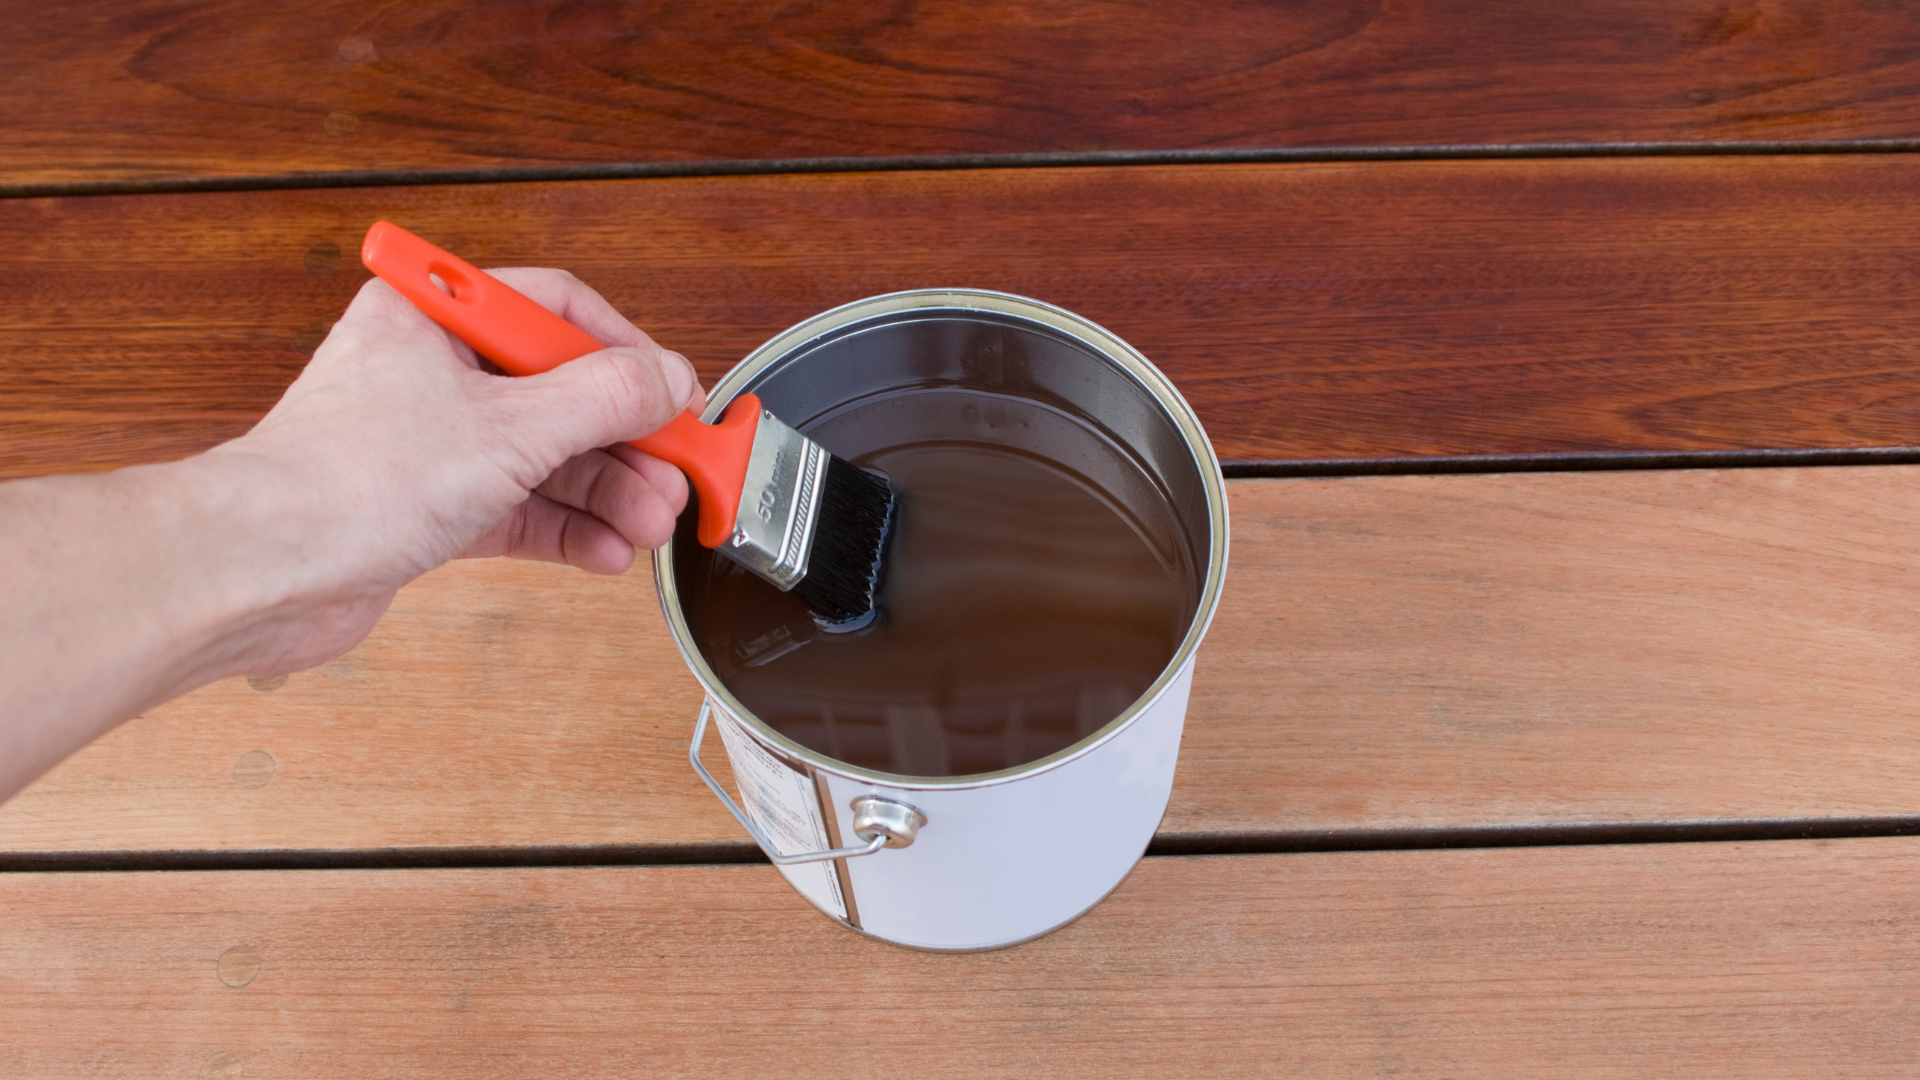
Step 3: Cleaning
After old coatings are addressed, the deck surface is cleaned thoroughly to remove dirt, mildew, algae, grease, tannin stains, and any residue that would prevent the new finish from bonding correctly to the wood.
Connecticut shoreline decks accumulate a specific combination of surface contaminants that inland decks do not. Salt air deposits, biological growth from the humid coastal environment, and the green algae that develops on shaded deck surfaces in Madison, Guilford, and Old Saybrook are all present in the Connecticut shoreline deck environment and all interfere with finish adhesion if not removed.
What proper deck cleaning involves:
- Deck cleaner application: A sodium percarbonate or oxygenated bleach wood cleaner is applied liberally with a roller or pump sprayer, working in small sections to keep the surface wet at all times. According to Mr. Handyman's professional guidance, sodium percarbonate cleaners are effective at removing dirt, nail stains, algae, and mildew and are non-harmful to plants and vegetation. The cleaner is allowed to set for approximately 15 minutes, misting with a garden hose as needed to prevent it from drying on the surface.
- Scrubbing: After the cleaner has soaked, the surface is worked with a stiff-bristle synthetic brush, scrubbing in the direction of the wood grain to lift contaminants from the wood surface and from the gaps between boards.
- Power washing: The deck is rinsed using a power washer with a 45-degree tip set at 1,200 to 1,400 psi, held 8 to 12 inches from the surface and directed with the grain of the wood. This pressure range is sufficient to rinse the cleaning solution and lift surface contaminants without damaging the wood fibers. Higher pressure or a narrower tip angle damages the wood surface, raises the grain excessively, and creates an irregular surface that holds moisture rather than shedding it.
- Wood brightener application when warranted: On older, weathered decks that have grayed significantly or on any surface that has been chemically stripped, a wood brightener restores the wood's natural color and adjusts the pH to a level that promotes better stain penetration and adhesion.
Step 4: Drying to the Correct Moisture Content
This is the step that most DIY deck staining projects skip or underestimate, and it is one of the primary reasons deck finishes fail prematurely on Connecticut shoreline properties.
Stain cannot penetrate wet wood. The wood fibers are saturated with water, which occupies the same space the stain needs to enter. Stain applied over wood that has not dried to the correct moisture content sits on top of a wet surface, does not bond correctly, and lifts as the wood dries beneath it.
According to verified staining guidance from multiple professional sources, including YellaWood and Madison Stain and Seal, wood moisture content should be below 15 percent for proper stain application and penetration. At the surface level, a simple field test is to sprinkle water on the wood: if it soaks in within a few seconds, the wood is ready. If it beads up, the wood is either still too wet or has a surface residue that needs additional attention.
What adequate drying time means on the Connecticut shoreline:
Connecticut's climate complicates the drying requirement. Humidity levels along the shoreline in Madison, Branford, Clinton, and surrounding communities are consistently higher than inland Connecticut, and higher humidity extends the time required for washed deck wood to dry to the 15 percent moisture content threshold. A deck that was power washed on Monday in humid July weather on the shoreline may not be adequately dry for staining on Wednesday. Professional guidance from multiple staining sources recommends allowing at least two days of dry time after washing before applying stain, and confirming moisture content with a moisture meter rather than relying on a calendar estimate.
New pressure-treated lumber adds another dimension to this step. According to Da Kine Paints professional guidance, new pressure-treated boards need to dry for a minimum of 30 days before staining, as staining them too soon prevents the stain from fully soaking in and protecting the boards. A newly built deck section incorporated into a repair or addition must be allowed to cure before the staining project begins.
Timber & Brush schedules deck staining projects to account for the drying time that Connecticut shoreline conditions require rather than pushing to apply product before the wood is ready. A stain job completed on adequately dry wood at the correct moisture content lasts significantly longer than one applied ahead of schedule.
Step 5: Sanding
After cleaning and drying, the deck surface is sanded. This step serves two distinct purposes depending on the condition of the deck, and both are necessary for a professional result.
What sanding accomplishes:
- Grain raising from washing: Power washing raises the wood grain, leaving the surface rough with standing wood fibers that are absorptive but irregular. Sanding after washing and drying, as recommended by Family Handyman's expert guidance using 150-grit sandpaper, knocks down the raised grain and creates a smooth, even surface that accepts stain uniformly. An unsanded post-wash surface produces an uneven absorption pattern that shows as blotchy or streaky color in the finished stain.
- Smoothing new wood areas: Where new boards were installed as part of repairs, they may have mill glaze, a smooth surface layer from the manufacturing process, that resists stain penetration. Sanding these areas removes the mill glaze and opens the wood to accept the new product.
- Blending old and new wood: Where repaired boards sit adjacent to weathered original decking, the two surfaces have different absorption characteristics. Light sanding creates a more uniform surface profile that produces more consistent stain color across the transition.
- Feathering remaining old stain edges: Where old penetrating stain remains in recessed areas but has been removed from the surface, sanding feathers the remaining stain into the surrounding bare wood to reduce the visibility of the transition line.
Sanding is done with the grain, not across it. Cross-grain sanding creates scratch marks that show through the finished stain, particularly with semi-transparent or transparent products where the wood surface is visible through the finish.
Step 6: Final Surface Preparation and Weather Confirmation
The final step before any product is applied is a complete surface review and weather window confirmation. Neither the prep work nor the stain application can produce a lasting result if the environmental conditions at the time of application are wrong.
What the final preparation covers:
- Dust and debris removal: All sanding dust is removed from the deck surface using a leaf blower, a broom, and a tack cloth for any remaining fine particles. Sanding dust left on the surface creates a contamination layer between the wood and the stain that affects adhesion and produces an uneven finish.
- Final moisture check: Moisture content is confirmed to be below 15 percent using a moisture meter at multiple points across the deck surface, including areas that were in shade during the drying period and areas where new boards were installed.
- Surface contamination check: Any areas where oils, grease, or residue from surrounding plantings or furniture contact are identified and cleaned before the application begins. Stain applied over a contaminated surface will not adhere in that area.
- Weather window confirmation: According to Sherwin-Williams professional guidance, stain application requires no rain for 24 to 48 hours after application, application temperatures between 50 and 90 degrees Fahrenheit, and avoidance of direct intense sunlight during application, which causes the stain to dry too quickly and prevents proper penetration. High temperatures above 90 degrees Fahrenheit can cause the cleaner and the stain to dry too quickly, causing uneven penetration.
On the Connecticut shoreline, weather window planning is a genuine constraint. The humidity, the afternoon sea breeze that can carry moisture onto a freshly stained surface, and the unpredictability of coastal weather in spring and early summer all require that the application window is confirmed against a reliable forecast rather than assumed.
Why These Six Steps Determine What the Finish Does Next
The deck staining projects that last on Connecticut shoreline properties in Madison, Guilford, Branford, Old Saybrook, and Clinton are not the ones done with the most expensive stain. They are the ones done on properly prepared wood at the correct moisture content, in appropriate weather conditions, over a clean substrate with old coatings removed. The product performs as intended when the surface conditions allow it to.
The projects that fail within a season or two skipped one or more of the six steps above. The old stain was coated over rather than removed. The deck was stained two days after washing in July humidity when the moisture content was still too high. The raised grain from washing was not sanded. The weather window was too short to allow adequate curing before rain arrived.
Timber & Brush completes all six steps on every deck staining and painting project on the CT Shoreline. The prep work is not a premium add-on. It is the standard, because a deck finish that fails within two seasons is not a completed job regardless of how it looked the day it was applied.